Let’s be honest — how many times have you given someone your business card, and it just disappeared into their pocket, never to be seen again? This used to happen to me all the time. I’d meet a client, hand over my card, and two weeks later I couldn’t reach them because the card was long gone.
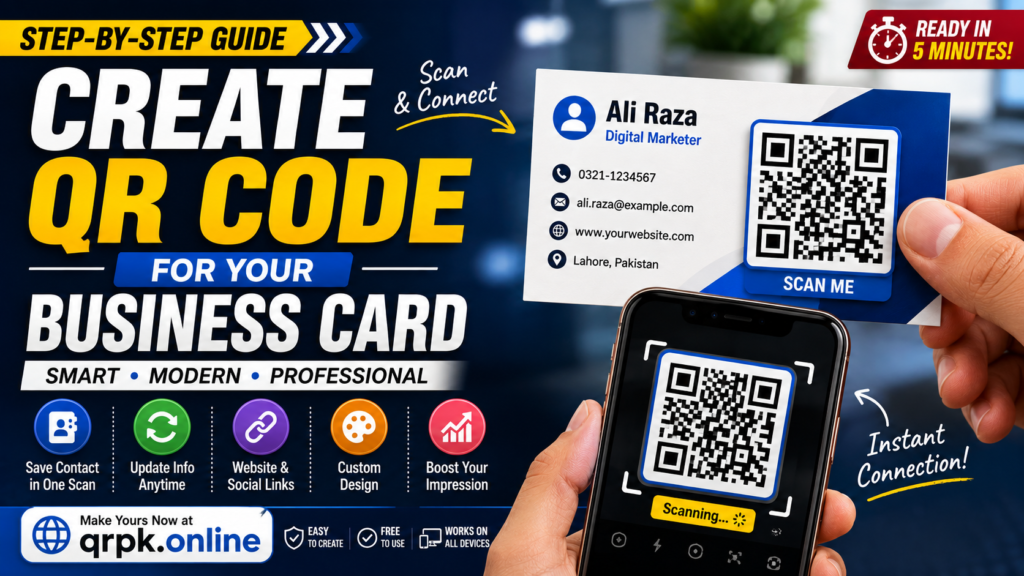
Then I tried adding a QR code to my business card, and everything changed. Now, whenever someone scans it, my phone number, WhatsApp, or website opens up right away — no typing, no searching. And the best part? It’s completely free to make and takes less than 5 minutes.
In this article, I’ll walk you through exactly how I do it, step by step, without any confusing tech talk.
What Is a QR Code Business Card?
It’s pretty simple — it’s just a small square code that anyone can scan with their phone camera, and your details (name, number, email, website, social media) instantly show up on their screen.
With an old-style card, everything is printed, so if your number changes, the card becomes useless. But with a QR code business card, you can update the link anytime — the card stays the same, but the information behind it is always fresh.
Benefits of a QR Code Business Card
Here’s a quick table showing why it beats a regular card:
| Feature | Regular Business Card | QR Code Business Card |
|---|---|---|
| Saving contact info | Has to be typed manually | Saved in one scan |
| Updating information | Need to print a new card | Just update the link |
| Cost | New print every time details change | Make it once, use it forever |
| Social media links | No space for links | All links in one place |
| Professional look | Old-fashioned | Modern and tech-friendly |
Honestly, whenever I hand out my QR code card at a networking event, people take it more seriously. It gives the impression that you’re up to date with technology.
Decide This Before You Make Your QR Code
Before creating your QR code, think about what should open when someone scans it. A few common options are:
- vCard (Contact Card) – saves your name, number, and email directly
- Website Link – opens your portfolio or business site
- WhatsApp Number – opens a WhatsApp chat with you instantly
- Social Media Link – opens your LinkedIn, Instagram, or another profile
My honest advice: if you’re a freelancer or small business owner, go with a vCard QR code. It’s the most useful because it puts everything together in one place.
Step-by-Step: How to Make a QR Code
Here are the exact steps I follow myself.
Step 1: Gather Your Information First
Before you start, keep these details ready so you don’t have to keep editing later:
- Full name
- Job title or business name
- Phone number
- Email address
- Website (if you have one)
- Social media links
Step 2: Pick a Reliable QR Code Generator
You can use a free tool like qrpk.online, where you can create a QR code instantly without any signup. Just fill in your details and your code is ready in seconds.
Step 3: Choose the Type of QR Code
Here you’ll decide what the code is for — a contact card, a link, or WhatsApp. As I mentioned above, the vCard option works best for most business cards.
Step 4: Customize the Design (Optional but Important)
This is a step a lot of people skip, but I never do. A plain black-and-white QR code looks boring. You can customize:
- The color (to match your brand)
- A small logo in the center
- A frame or border style
Just make sure the color isn’t too light, or the code might become hard to scan.
Step 5: Always Test It
This is the most important step people forget. After creating the code, scan it with 2 to 3 different phones to make sure the right information opens every time.
Step 6: Download and Print
Once everything looks right, download it in high resolution so it doesn’t turn blurry when printed. Tell your printer to keep the QR code size at least 2cm x 2cm so it’s easy to scan.
Where Should You Place the QR Code on Your Card?
Placement matters too. Here’s a quick comparison:
| Position | Pros | Cons |
|---|---|---|
| Corner of the card | Clean look, doesn’t crowd the text | Smaller size, a bit harder to scan |
| Center of the card | Bigger size, easier to scan | Design can look plain |
| Back of the card | Front stays clean | People rarely check the back |
My personal tip: put it in the front corner and make it a decent size — this way, the card still looks good, and it’s easy to scan too.
Common Mistakes People Make
I’ve seen myself and friends make these mistakes over and over:
- Printing the QR code too small — phone cameras struggle to read it
- Using low-contrast colors — like light grey on white
- Skipping the test before printing — then finding out the link was wrong
- Making a new code every time instead of using one that updates automatically
If you use a dynamic QR code (where the link can be changed without creating a new code), you’ll save yourself a lot of time down the road.
Does a QR Code Business Card Actually Work?
Yes, it really does. I’ve experienced it myself — since I started using a QR code on my card, my response rate has doubled. People save my contact instantly, and even the ones who don’t save it usually scan it just to check out my website.
Everything moves fast these days, and hardly anyone wants to manually type out a number to save it. A QR code does that job in seconds.
Final Thoughts
Making a QR code business card isn’t complicated at all. Just gather your information, use a good generator like qrpk.online, customize the design a bit, and test it before printing. It only takes about 5 minutes, but the impact is huge.
If you’re a freelancer, business owner, or any kind of professional who networks with people, this small change can make a real difference in your career. Give it a try — you’ll like the results.